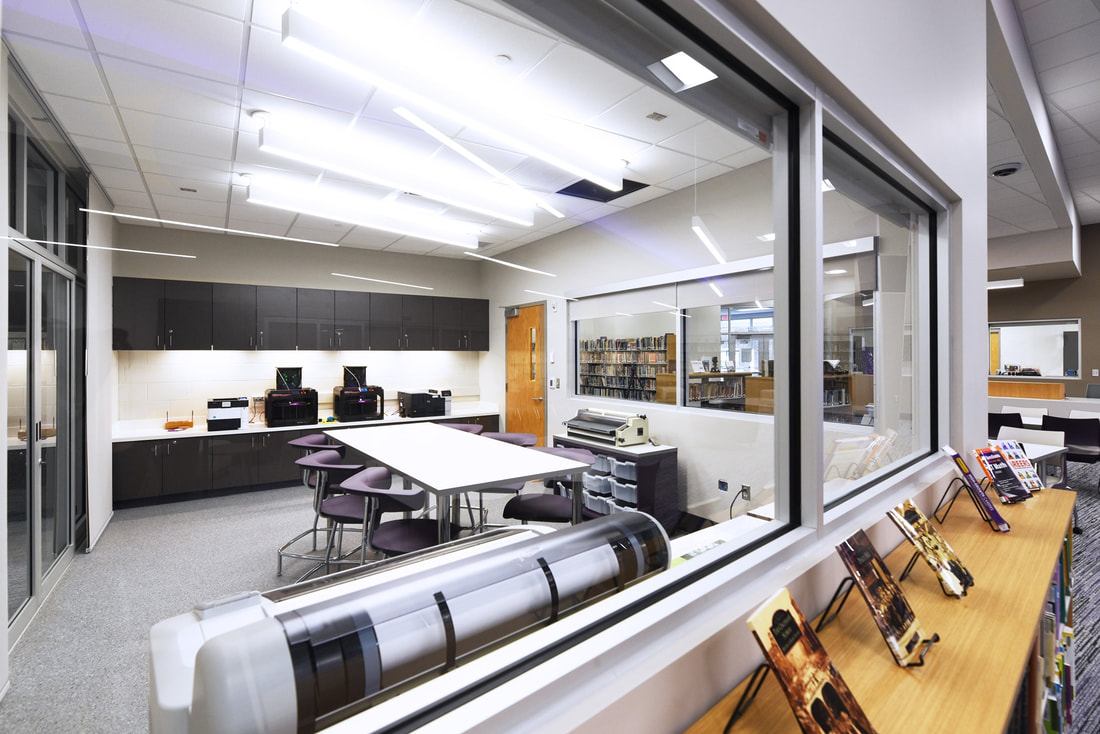
Available in our Makerspace
|
3D printers -- See below for instructions for using and signing up for printing time.
Large format printers -- Maximum widths of 44 inches and 24 inches Download driver here Standard color printer Button maker Cricut Maker for cutting designs in a variety of materials Metal stamping Beads Microbits Laminator |
|
Before you print
- Our new Raise3D Pro2 and Pro2Plus printers use IdeaMaker software to slice models. Download it here. Stop by the library for a brief orientation to making with these new printers.
- To use the Makerbot Printers, see steps below
- Download Makerbot Print software -- see a library staff member or computer teacher to input the administrator code.
- Create or find file you want. You can use 3DBuilder on your computer. Thingiverse.com and Tinkercad.com are popular places to look for other people's designs. Be sure to choose Creative Commons licensed files to use. Save the file as an .stl or .obj file.
- Import file into Makerbot Print
- Make any adjustments in size or orientation
- First time? You will have to choose “unconnected printer” then Replicator+
- When file is correct size and oriented correctly to the print bed (not hanging above it, or balanced on a tiny point), choose the red EXPORT command and save to a flash drive. Notice the length of time estimated for your print.
- Make a reservation using the form below
- When your print time comes, check in with the library staff to get started.
| elder_library_3d_printing_policyseptember_2017.docx |
